Wednesday, October 16, 2019

Rangers of Shadow Deep Campaign Continued

This is a continuation of the solo campaign I've been running using Rangers of Shadow Deep, a variation of the Frostgrave system by Joseph McCullough. 


 This was the conclusion of the adventure in which our heroes were tasking with recapturing the border tower of Tor Varden from the evil minions of the mysterious power of the Shadow Deep. At the end of my last session, the party had defeated a Gnoll outpost at a river crossing on the way to Tor Varden.  This session began as the party approached the tower itself.


As a reminder, here's the party of rangers - Sir Osmer of Esrey, a younger son serving with the Alladorian Rangers in hopes of making a name for himself. He is under the protection of three adventurers: a pair of Lygoshi barbarians, Kyra the Red and Bogdan the Black and Hanali the Wood Elf.  Sir Osmer is an NPC "companion" in game terms while the other three are stat’d as player characters.  
 This part of the adventure is divided into two scenarios.  The first covers the lower levels of the tower.  There are three large rooms in this level but what each room contains is determined randomly at the first entry of the rangers.


When the defeated the Gnolls in the last session, the heroes had obtained a map showing where all of the nearby outposts and patrols were located.  They were thus able to approach the tower without being noticed. However, they could hear screams coming from inside the tower; perhaps one of the garrison still survived.

Kyra was then able to pick the lock on the outer door, ensuring the complete surprise of the occupants within.
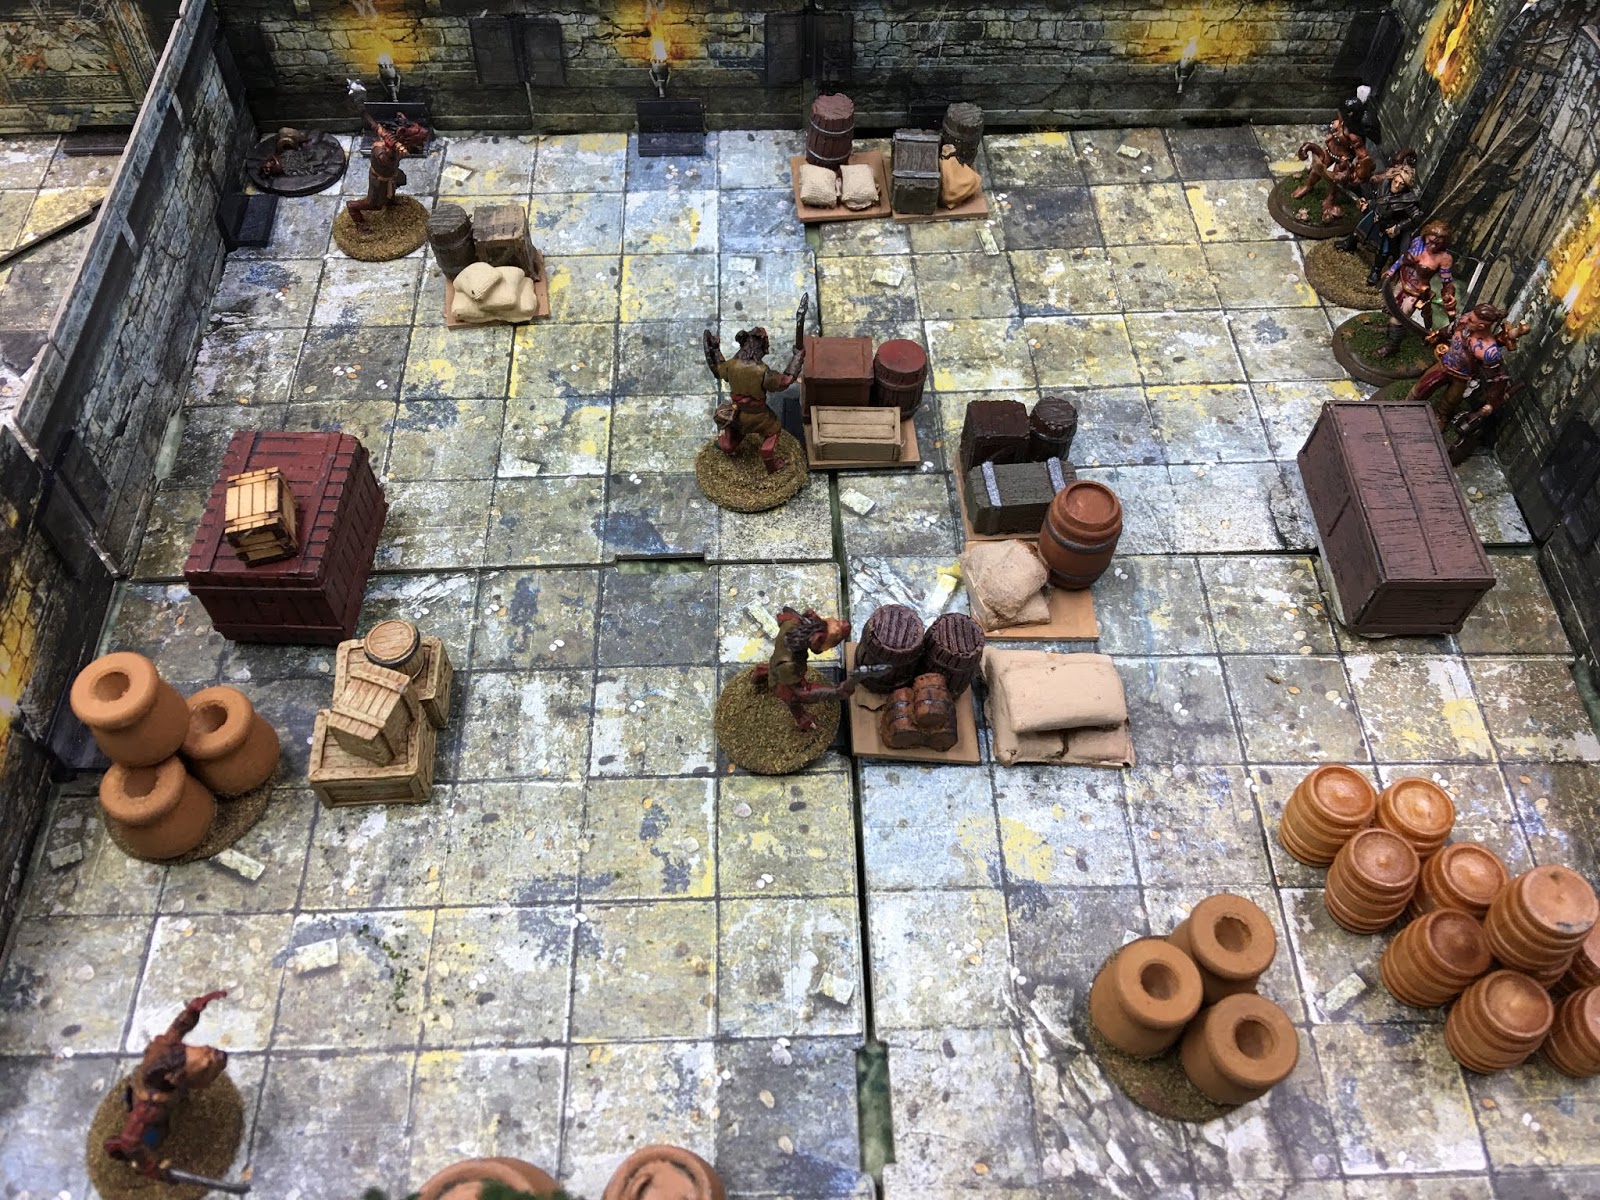

 This first room proved to be a store room containing four very surprised Gnoll warriors.

 The rangers were upon them before they could grab their bows.  Two gnolls went down in the first round.  The two remaing gnolls  ganged up on Bogdan.

Although lightly wounded, the barbarian held them off long enough for his friends to come to his aid.  The two gnolls were quickly put down.  In this scenario, the players have a limited number of turns to clear the room and open the door to the next room.  If they had failed, the gnolls would have been alerted and waiting in ambush. In the case of this game, the rangers held the initiative throughout and managed to clear each of the rooms in only two or three turns.


The next room proved to contain a shaman working some dark spell.


 The gnoll shaman was attempting to animate a corpse to make a flesh golem.  Unless the heroes killed the shaman quickly, they would have to face the horrific creature.

 While Bogdan, Kyra, and Osmer dispatched the gnoll guards, Hanali distracted the shaman by shooting arrows at it.  In a short time, the shaman was surrounded and struck down despite its fierce reistence.  The golem never had the chance to leave the table.
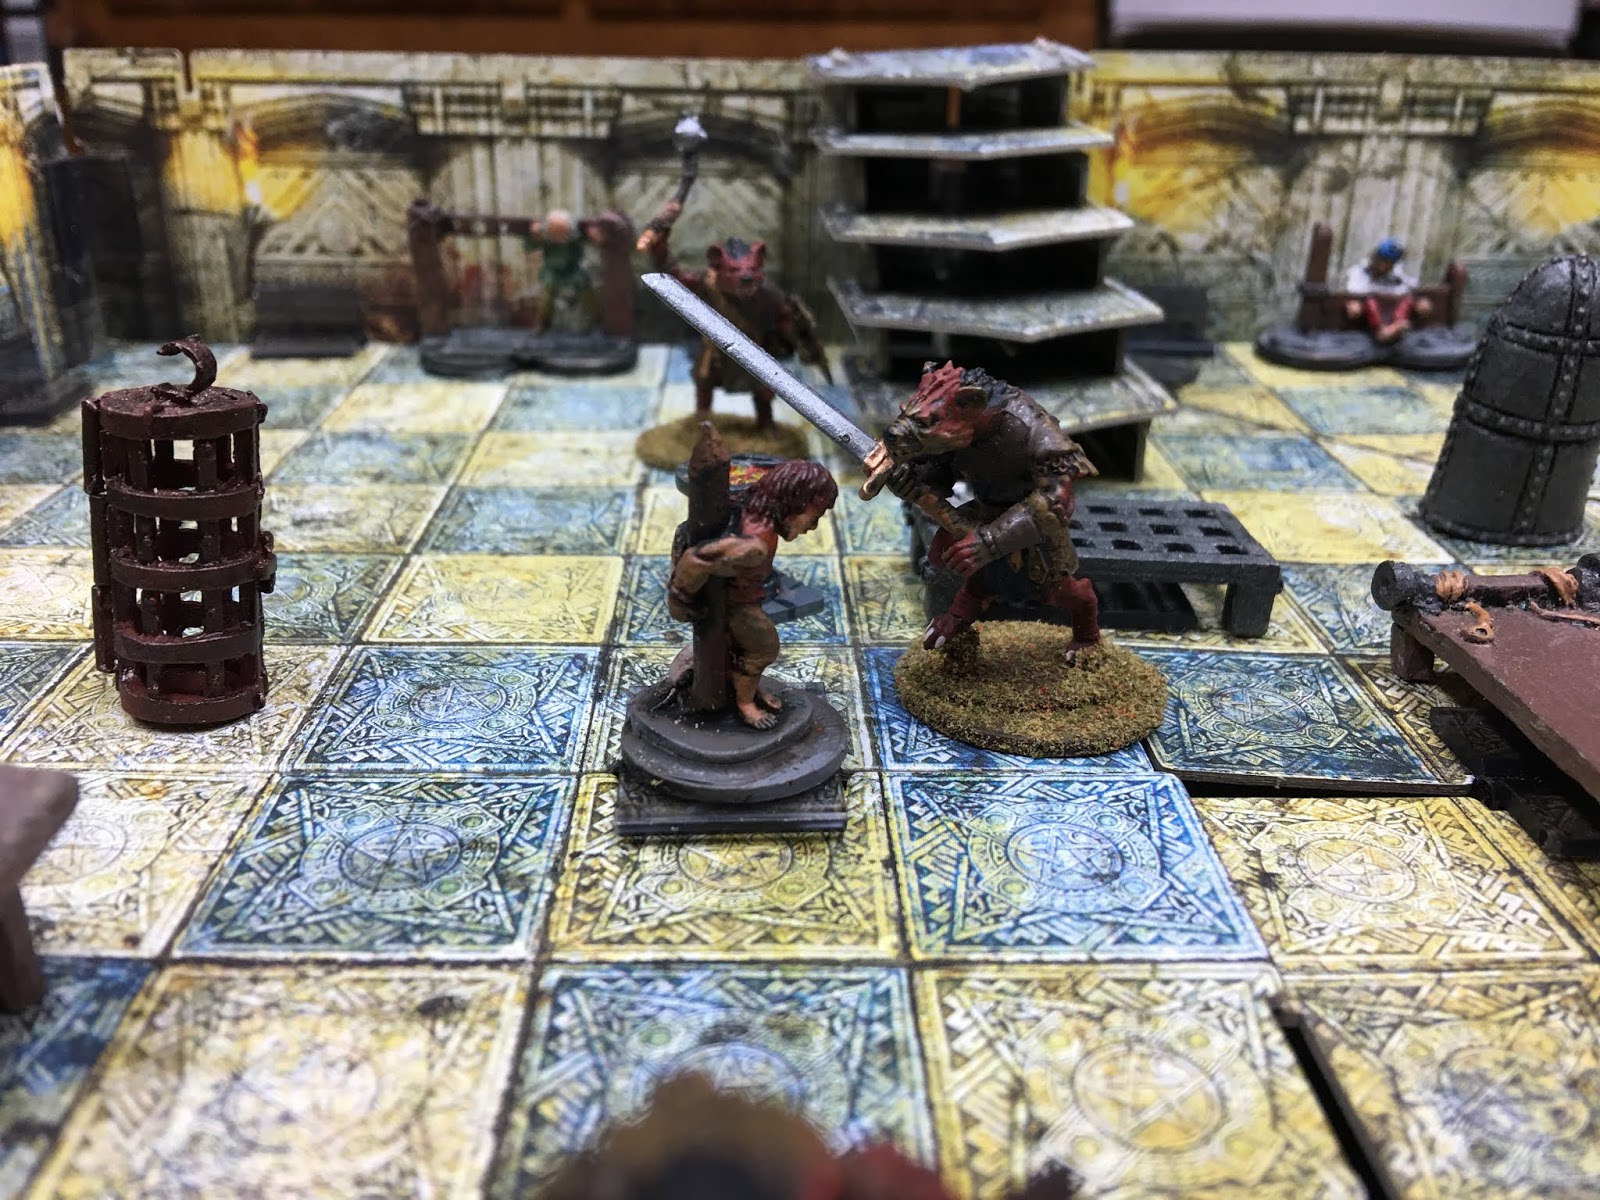
 The third room was a torture room. 
 A gnoll sergeant was working on a surviving member of the garrison while two other prisoners grimly waited their turn under the gnoll's knives.


The rangers charged the sergeant and struck him down.  This gave a chance to the other two gnoll guards to counter attack.

 After a surprising tough fight in which the rangers took some hits, the last of the gnolls was finally killed.  Leaving Helmer to get the prisoners to safety, the rest of the party took the stairs that led to the top of the tower.


 This was the next and last scenario in this adventure.  The top of the tower had been used for a signal beacon.  A rotting wooden walkway surrounded the tower.  Three gnoll archers patrolled the walkway.

The minions of Shadow Deep were using the beacon pyre for more nefarious purposes, some type of magic involving the sacrifice of one of the women of the former garrison.  It was her screams that the rangers heard when they first arrived at the tower. Preparing to sacrifice her was a Shadow Knight, one the Shadow Deep's more powerful minions, assisted by a gnoll warrior.

 At first only Bogdan, Kyra, and Hanali were able to hurl themselves through the trap door to the tower roof.
 They charged the gnoll fighter, hoping to kill it quickly and then face the counter attack by the Shadow knight.  Their plan worked.  The gnoll was killed in the first attack and then the Shadow Knight counter attacked. Bogdan was ready for him.  Using an Axe of Elemental Power he had found in the storeroom, the Crushing Blow special ability, his own Fight prowess and with the support of Kyra and Hanali (and a great deal of luck), the barbarian struck the Knight down with one mighty blow.


After freeing the prisoner, and now joined by Osmer, the party faced the problem of dispatching the gnoll archers.  They split up, Hanali began stalking one of the archers.  She noticed strange green smoke rising from the next signal tower, Tor Dargos, and the sight and smell of the foul smoke struck fear in her heart.  (The scenario rules provide that the other two towers in the chain were also part of the spell.  Every second turn, the pyre on one of these other towers was lit, causing negative effects on the heroes.  In this case, all the heroes had to role a Will check, failure of which meant being reduced to only one action per turn.  Hanali was the only one who failed her check.)  Nonetheless, she managed to have the good fortune of killing one archer with a lucky shot (She rolled a nature 20 which added to her shoot score guaranteed the gnolls immediate demise.)

 Bogdan and Osmer went after the second gnoll archers while Kyra attempted to hold the third at bay.
The party was now all armed with bows taken from fallen gnolls and could trade shots with the archers, weakening them before going out on the walkway to take them out.

After some maneuvering, the third archer was finished.  The party had retaken Tor Varden.

However, they saw that nearby, an enormous, crevice-like, poisoned tear had opened in the land, leading to the Shadow Deep itself.

After a brief rest, the rangers decided they had the duty to investigate and set off, down in the veritable bowels of hell.  To be continued...

Wednesday, October 9, 2019

Start of a Rangers of Shadow Deep Campaign


Rangers of Shadow Deep is a solo/cooperative game by Frostgrave author Joseph McCullough.  It uses a slightly modified version of the very versatile Frostgrave system.  The concept is that small groups of Rangers, think Aragorn-type heroes, serving the fantasy Kingdom of Alladore battle an encroaching negation called the Shadow Deep, think the Nothing from The Neverending Story.  The rules contain a number of programmed scenario that are linked into larger narrative missions.  A campaign system allows you to further develop the characters.  I decided to try a few adventures solo.

Here's my part of rangers - Sir Osmer of rey, a younger son serving with the Alladorian Rangers in hopes of making a name for himself.  His father at least provided him with some mercenaries to keep him alive: a pair of Lygoshi barbarians, Kyra the Red and Bogdan the Black (this latter is an homage to my very first D&D character that I ran for too many years to count), and Hanali the Wood Elf.  Sir Osmer was actually created as an NPC "companion" in game terms while I created the other three as player characters.  The three main heroes are from Hero Forge while Sir Osmer is from the Dracula's America line of figures from North Star.


I started with the basic scenarios in the rule book.  The first mission, "The Missing," consisted of two scenarios. The first is the "Deserted Village."  Our heroes had to investigate an now abandoned village which has been overrun by zombies, as well as a few giant rats.


 There were several clue markers around the village.  After dispatching the few visible zombies and rats, the party split into two teams up to investigate the buildings in the village.  The buildings are from a Russian company called Umbum and are wonderfully detailed, very easy to build, and pretty reasonable price-wise.

This led to the toughest part of the game when Bogdan and Hanali found themselves surrounded by four zombies and rat swarm (the scenario called for giant rats but I only had rat swarm pieces.)

With no small amount of luck, including a judicious use of a reroll special ability, the pair proved victorious.  Although it was a win for the party with only minor wounds suffered, the experience and treasure gained were only moderate.  They did discover strange tracks which led them to the second scenario in the mission:


The "Infected Trees" scenario, wherein our heroes discover that the village had been destroyed by a nest of giant spiders.  The heroes had to destroy the nest, including the four (later five) trees infected by the spiders, as well as free any villagers who might still be alive after being ensnared in the spiders' cocoons.


 The game opened with Hanali getting a lucky shot in, killing the closest spider.  This set the tone for the rest of what proved to be quick game.  Hanali would shoot at a distance and the rest of the party would move up to kill each spider in turn.  Luck with the random events draw helped a great deal with the party having plenty of time to dispatch the individual spiders.  Freeing three villagers from the cocoons also gave a boost in numbers for ganging up on the spiders.

In no time, all of the spiders were killed, the infected trees set a flame and three grateful villagers saved.  This ended the introductory mission on a high note and allowed the heroes to advance an experience level. 


The next mission in the book is "The Beacon Tower," in which the rangers must discovery what has happened at Tor Varden, a beacon tower on the kingdom's border with which contact has been lost.  I only had time to play the first scenario of the three-part mission.  On the way to Tor Varden, the heroes find their way blocked at a bridge occupied by a force of evil Gnolls, servants of the Shadow Deep.
The bridge was heavily guarded and several archers patrolled the closer bank of a rushing torrent.

Our heroes managed to sneak up on the bridge and positioned themselves to ambush the Gnolls.


Hanali uncharacteristically misses her bow shot.
Bogdan is luckier with his throwing axe.  A nearby Gnoll archer comes to investigate and is struck down as well.
 However this alerts the rest of the Gnolls who swarm our heroes.

In the ensuing melee, Kyra the Red is struck down.

Hanali and Sir Omser, having killed anothe Gnoll archer, rush to Bogdan's aid.  On the way, Hanali spots a flock of messenger crows, likely sending a warning to the new occupiers of Tor Varden.  She manages to knock them from the sky.  (The scenario calls for a vulture but I only had a crows available - the rules themselves suggest being flexible about using substitute figures.)


Bogdan duels with the Gnoll Sergeant who with great difficulty is overcome.

Unexpected help arrives.  A survivor from Tor Varden's garrison has escaped and appears on the farther shore.  He attacks the two Gnolls left in camp and with great luck manages to slay both of them.

Hanali, who has a Heal spell revives Kyra and the reunited party defeat the remaining Gnolls.
The last surviving Gnoll attempts to retreat across a nearby ford but is intercepted by Sir Osmer and the Tor Varden survivor, a man-at-arms named Helmer.
With the river crossing secured, the party prepares to set off for the tower itself.

This was where I had to stop but I hope to be returning to this adventure soon.

Wednesday, October 2, 2019

Rebels of Space Deep - Star Wars using the Frostgrave System


There is a Facebook Group for Rangers of Shadow Deep, a solo/cooperative fantasy skirmish game by Joseph McCullogh based on his Frostgrave system.  Someone on the group recently posted an adaptation for Star Wars, called Rebels of Space Deep.  My group decided to give it a try.  We found it really matched the feel of the movies. 

Here's some pictures.  I should note that we are not big players of the various Star Wars games and so my collection of such miniatures is fairly limited.  We had to use a number of substitutes, in particular I have no distinctively white-armored Stormtroopers but used some Space Nazis instead.  I hope the purists are not overly offended.


The scenario we played involved a group of rebels attempting to find a droid in a vast junk yard just outside Mos Eisley on Tatoine.  The droid contained a file with a listing of all the Imperial informants and double agents in the galaxy.  The heroes had to find the droid, retrieve the file, and escape to their spaceship in a hidden hanger in the city itself.

Our heroes included a Jedi recently escaped from a decades-long imprisonment in carbonite, a rakish Smuggler and his Wookie companion, a dashing pilot, and a commando droid.

Our heroes boldly enter the junk yard.


The smuggler lucks out and discovers the droid in the first pile of junk he investigates.  (There were 6 clue markers set up randomly in the junk yard.  When a player investigated it, there was a chart to determine what was found.  It turned out the first clue investigated gave the result of the droid.)


The pilot proved less lucky and encountered some Womp Rats.


 The mission became more complicated with the arrival of a storm-trooper patrol  The Jedi met them boldly, and using his light saber parried every blast shot back at them.  The storm-troopers are all dispatched but not before alert the rest of the garrison.


The pilot hears a noise but fails to identify it.  It turns out to be more Womp Rats.  They nearly kill the pilot but the Jedi helps dispatch them.


Meanwhile, an agent of the Imperial Security Bureau surprises the Wookie but the shot is missed.


 The Wookie responds by picking up the wreck of a small dune buggy and smashing it onto the agent.  (The wookie player rolled a natural 20 on his strength check, I let him use this a Fight roll and it easily killed the agent.)

 The party is able to leave the junk yard thus ending the first scene.


The players enter Mos Eisley proper

But are careful to avoid the guards at the Hutt's palace

Imperial reinforcements soon arrive to stop them.


A fierce gun battle erupts across the square.

The Jedi strides openly towards the storm-troopers hoping to draw them away from his companions.  


He is successful but finds himself surrounded.  A surprising tought Imperial NCO brings the Jedi down to a single hit point.  


Fortunately, he is able to cut his way free from the storm-troopers.  The commando droid flings the Jedi onto its metallic back, rushing to safety, using his light saber to parry the incoming blaster fire. 

As imperial reinforcements begin to arrive, all of the heroes are able, at the last minute, to board their spaceship and escape.